Showing posts with label Nail Art. Show all posts

Sunday, December 26, 2010

Christmas Mani

Here is the mani that I actually wore on Christmas. I wanted to change things up after wearing Party Hearty for almost two weeks. I've neverrrrrr worn a polish that long. Fuck - I've never even wore a polish for a week. I guess that just goes to show how cool and awesome Party Hearty is. 

This mani was China Glaze Cheers for You, with a little nail art on top. 
First off - I just want to say that Cheers for You deserves an award. An award for being the polish with the worst wear! I did this on Christmas Eve - around 9pm. I took this pictures around 10am Christmas day. I had major major major chippage issues on my right hand.  3/5 nails were halfway chipped off. And I don't know if you can see it but on my left hand (which is shown) both my index and middle finger had pretty noticeable chips on them as well. I don't know what happened.
Another thing to note - I got the ideas for my nails from Nails by Asami. Her designs are amazing!! It makes me want to run out and buy acrylic paint and practice my nail art. 

For these I didn't use acrylic paint. I used China Glaze Ruby Deer for the red and China Glaze Emerald Sparkled for the green.
I should have stopped with the holly bunch. I think it is really cute! And it came out looking pretty decent. But nooooo - I had to keep going. Asami's christmas lights mani looked so cute and easy I figured I could handle it. I was wrong. I think it ruined the whole mani. 

See - nice fingers...


and.. crappy thumb!


 And back to the nice fingers... 


Well - I liked my fingers at least.

Saturday, December 18, 2010

Teal Patchwork

My second attempt at a patchwork mani didn't look much better. It is just so hard to get the tape lined up properly. And I had major problems with creating a good seal - polish kept leaking through and I would have to re-do it. Such a hassle. 


I used China Glaze For Audrey for the base, China Glaze 2nite for the blue holo, and China Glaze Liquid Leather for the black.


Also - sorry that these pictures were taken indoors but I wanted to take this mani off as soon as I finished it (at 11pm), but I wanted a picture of it - for progress's sake. Hopefully in a few weeks I'll be so good at doing patchwork manis that this will be laughable.

Green Patchwork Mani

This is a horrible horrible first attempt at a patchwork mani. They look soooooo beautiful on Chloe's blog. But damn - they are kind of hard to get perfect. Hopefully practice will help. But this is definitely not pretty. 


I used OPI Jade is the New Black as the base, and then layered China Glaze Emerald Sparkled and China Glaze Liquid Leather over it using tape. 


Thursday, November 18, 2010

Rock n' Roll Nails

Here is the mani I submitted to The Lacqueristia's nail art competition. The purpose was for the nails to embody rock n' roll. Needless to say, I didn't win. But I figured I would show them to you anyway. They came out a little sloppy. And my record looks downright ridiculous. But... hey. It's not like I'm a professional or anything. 


I used China Glaze For Audrey for the base, and painted the white french tip with China Glaze White on White. I added the pink stripe with Orly Basket Case. I did the dots for the tips and the black of the record with China Glaze Liquid Leather. And I added some silver with Nina Ultra Pro Velvet Revolver. 


Friday, October 15, 2010

Spotty!

Here was the mani that I wore the other day. I was inspired by this mani on Fuck Yeah Pretty Nails. 


My base is Sally Hansen Complete Salon Manicure in Lavender Cloud. The pink dots are China Glaze Pool Party, green dots are China Glaze Kiwi CoolAda, blue dots are China Glaze Towel Boy Toy, the purple dots are China Glaze Secret Periwinkle, and the dark blue dots are Icing 7th Inning Stretch. 

Next time I do this I am definitely going to go the monochromatic route. I have a lot of blues and greens so I'm sure I can come up with something cool. 

Thursday, September 23, 2010

Yucky Grey Stripes

Well, I'm getting kind of backed up with pictures to post. I was afraid of bombarding my readers with too many posts. But then I realized I don't haveeee any readers. So I probably shouldn't concern myself with that. I suppose this blog will more or less just be documentation of all of my polishes and comparisons so I don't have to swatch polishes on different fingers to see what I want to wear the next day (which I do surprisingly often). 

Anyhoo, here is a mani that I wore the other day that I am reallllly not a fan of. 
Well, I'll just let the shitty pictures speak for itself.


For this mani I sponge-applied two Diamond Cosmetic grays that I recently acquired from my DC haul that I will show you in a bit. I used Concrete Jungle for the light gray and Matte Smoke for the dark gray. Then I used both my white and black nail art pens for the stripes. I absolutely adore tiger stripes. I feel that they can totally mask any accidental fuck ups that come with sponge gradations. Plus they're just cool to look at! I really encourage everyone to practice them (including you BD!) because they're awesome. 


So... the gradation in and of itself wasn't too bad, but I really felt like the polish was hard to clean up, and that it flooded my cuticles and there wasn't much I could do to stop it. So that I suppose was the primary reason why I hated it. I just felt like it looked reallllly messy the entire time I wore it, but since I put so much time into creating it (okay, not really a lot of time - just while I was watching Lone Star - which was surprisingly good! And damn! that guy is a totttttttal hottie!!!) I wore it all day instead of changing it in the morning. Overall - I probably would not use the colors I used in this mani again for this type of application. For sponge applications you really need polishes that clean up easily and don't stain. 

Tuesday, September 21, 2010

Blue and Yellow Tiger Stripes

Howdy, 
This is my mani from a few days ago. I used a sponge to paint on the blue and yellow, which were Hard Candy's Frenzy and Ulta's Sun-sational respectively. I then used a regular old black nail art bottle from Walmart to paint on the stripes. 


I really loved this mani. Very bright and colorful. 


and very shiny, right? Not any more! I added Diamond Cosmetic's Matte Top Coat, which I received in my moderately sized haul the other day. I love this matteness! I really didn't think I would, I just wanted it for the ability to do 


I feel like the matte top coat dulled the colors a little bit, and I'm fine with that. I think it looks pretty neat. Unfortunately I had a issue, but only on one nail. When I put the matte TC on, it seemed to kind of crack or split the sponged on polish from the white basecoat of polish I had first put on. It was a bit strange, but not that noticeable, and like I said that only happened with one nail. So I will have to try it again and see what happens. 


Damn. I intended to alter the schema of my blog to include less bs and more pics. Alas, my goal to reduce bullshit didn't work. Surprise, surprise. Perhaps I'll have better luck next time. Sorry for the rambling. 

Monday, September 13, 2010

Frenzy French w/ Holo Top Coat

Hey. This is my mani of the day. I used Hard Candy's Frenzy, which is a gorgeous turquoise creme. Great coverage, great color. Overall fantastic value. 5 bucks at Walmart - covers better than the 8 dollar Essie's I have. 
So I think I'm getting much better at cleaning up French manicures. And I really love the look - though of course I have an uncontrollable impulse to put glitter and sparkles on everything I do. But if I didn't do that, I think french manicures are a great way to wear some colors to work or school that maybe you wouldn't normally wear. Anyhoo - on to the pictures. 


...and the requisite blurry picture to show the glitter. Didn't work too well.. but it's the effort that counts, right?


Sunday, September 12, 2010

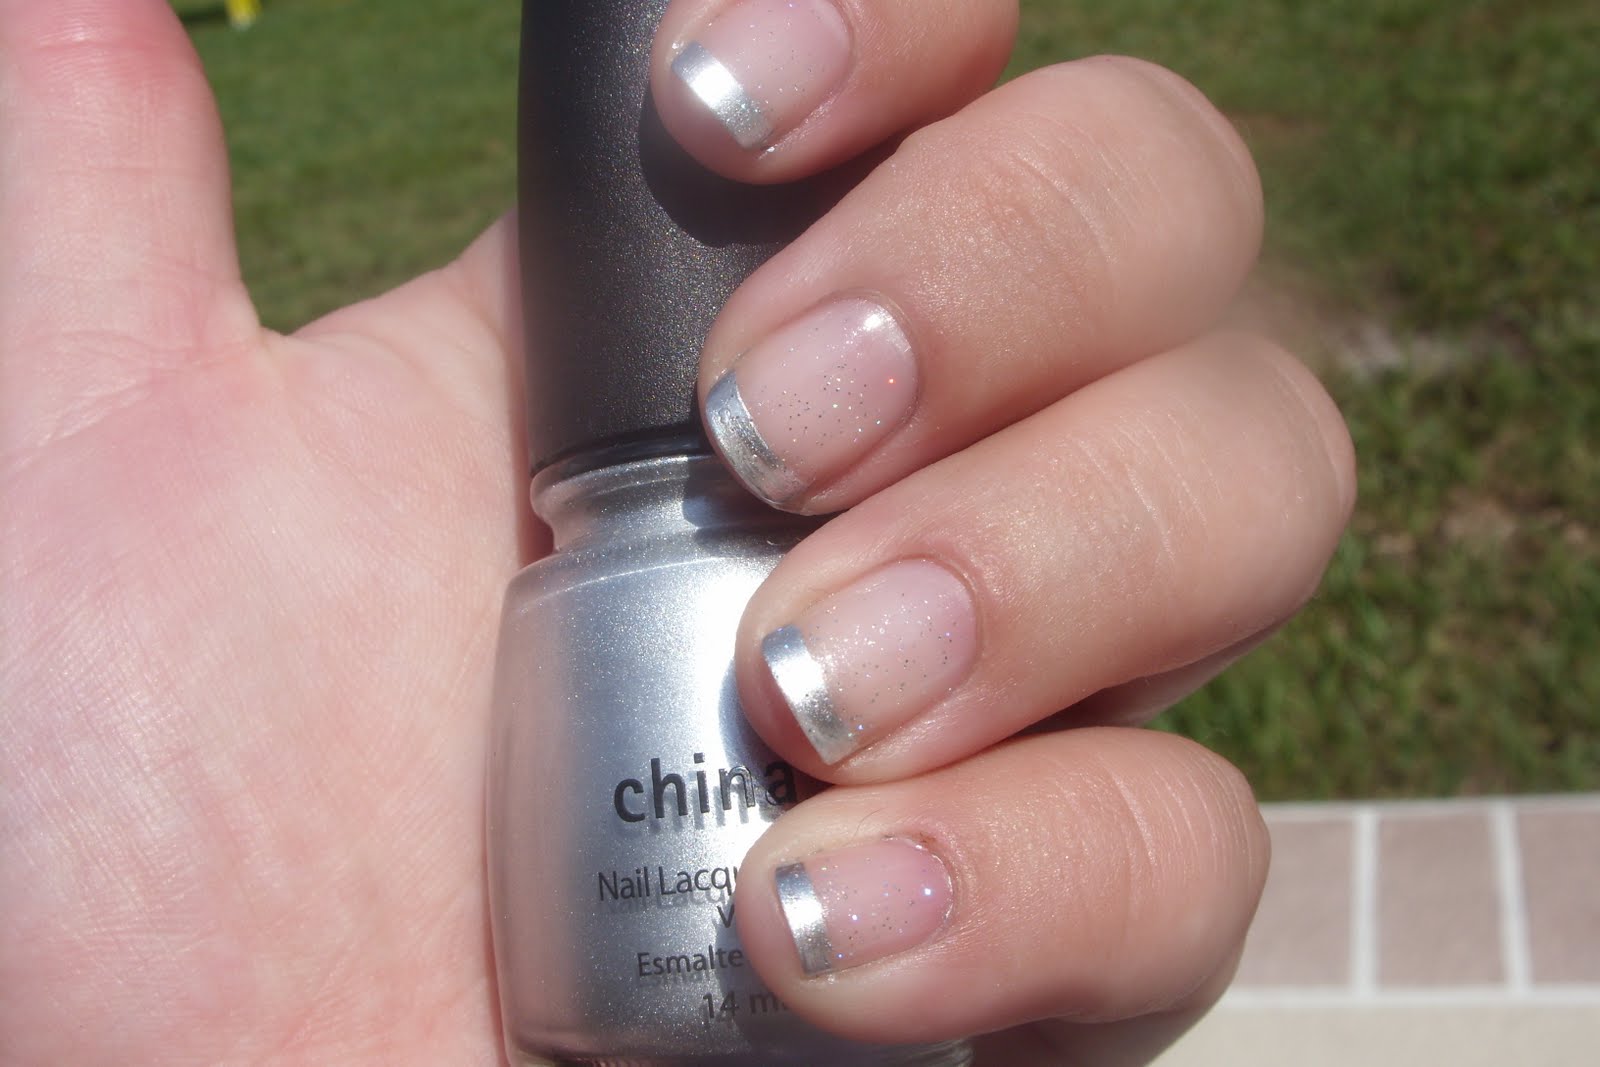
French with China Glaze: Millennium

So this is what I'm rocking on my fingers today. Although since it is football season I wad tempted to create some sort of gaudy Giants theme...but I went with the professional look today. I really like it. I feel like Millennium is much more forgiving in the making of a french. It comes off much easier than any white I've used, and since it is so reflective.. it isn't really noticeable if one finger has a thicker or thinner line than another.


Of course I had to top this off with my fabulous frankened holo Seche Vite. It is so superbly sparkly. I can't get enough of it. 

Tuesday, September 7, 2010

And... Tiger Stripes


So they're not the best tiger stripes in the world. But i've seen worse. Hell, I've done worse - on my other hand. haha.


I love the addition of the stripes. Not only is it more interesting to look at as I am trying desperately to plow through the insane amount of reading I have to do today... but it also reminds me of the white tigers at Busch Gardens. And who doesn't love white tigers??

Monday, September 6, 2010

Green Leopard Print Nails

Hey,

Today I wanted to show you guys my Green Leopard Print mani. I didn't intend for this to start out as a leopard print. But after I put on the strange light green nail polish that I had picked up at Sally's for half price, I needed to do something to it. I'm not saying the color in and of itself is horrible, I actually kind of like it in a weird way. But it looks strange with my skin color. Also - speaking of this light green - wow... what an application disaster. I figured since it was half off that nobody wanted it so it was probably a sheer mess. And I was totally right. What you're looking at is 6 coats. Thats right... six! And it probably could have used another. But while I didn't necessarily love the color alone, I actually adore this combo with OPI's Jade is the New Black.


Yeah, for some reason I am freaking loving this! I was afraid that Jade is the New Black was too dark and that it wouldn't be easy to discern the difference between that and the black nail art pen I used, but my concerns were unwarranted. I think it looks awesome. Nobody else may think so.. but I'm the one who has to look at them all day. So it's my opinion that matters, right?

I tried to take some bottle shots to show off the shimmery nature of this light green polish. Which is why I originally purchased it. The brand is called Nina Ultra Pro Salon Formula Nail Lacquer. Or it could just be called Pro. I'm really not quite sure. But I really wish it had been more opaque and worked better with my skin color, because it is actually a really neat color. I don't usually like mint green polishes, but the slight duochromey nature of it, which flashes gold and pink in the light, won me over.


Yeah - I don't think the shimmy was really captured in any of these photos. Which is fine, because the shimmer that is present in the bottle was lost on the nail itself anyway. So I suppose this is more true to the real life nature of the polish. 


Oh yeah - the polish is called Mermaid. Which is actually totally fitting if the shimmer would shine through. 


Overall, I feel that this mani came out great, but I would never wear this Nina Ultra Pro polish on its own because of my skin tone. And the opacity issues. But if you girls think that it would work good with your skin you should go to your local Sally's and grab it while they still have some. They had a couple other Nina Ultra Pro polishes as well. Perhaps I will get some and see if they all have the same sheerness issues.